But, several users are currently facing hurdles in increasing or decreasing their screen brightness. Some users said the brightness slider is missing in the Quick Action Center from their Windows 11 PCs. While some users mentioned that even the brightness slider isn’t helping them turn the screen brightness up and down. If you’re also facing issues while adjusting the screen brightness in your Windows 11 PC, keep reading. Here in this article, we’ve listed all the possible workarounds to help you bring the Brightness controller feature into the working state.
Why Is Brightness Not Working in Windows 11?
Here are some of the most common reasons that are expected to create issues with the Brightness Controller/Slider in Windows 11:
Malfunctioned Graphics Drivers Changes Made By TeamViewer App Missing Generic PnP Monitor Driver Outdated Display Adapters Disabled Monitor Driver Corrupted ieframe.dll element
4 Alternate Methods To Change System’s Brightness
Before heading to the actual workarounds, we’re sharing alternate ways to change the screen’s brightness in Windows. Let’s check them out.
1. From Quick Settings
One of the first methods to level up or down the screen brightness is from the Quick Action Center. This method isn’t working for some Windows users, but it could work for you. Below are the steps to change the brightness level using this method:
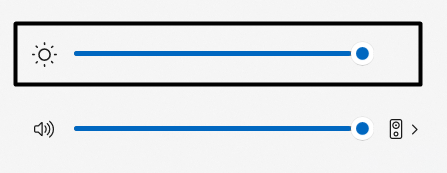
- First, click on the Battery icon in the screen’s bottom-left corner, where the time widget is placed, and open the Quick Action Center.
- Use the brightness slider next to the Sun icon to change the screen brightness as per your eyes’ comfort.
2. From Windows Settings
You can also change your screen’s brightness level from the Settings, and here are the exact steps to do the same with ease:
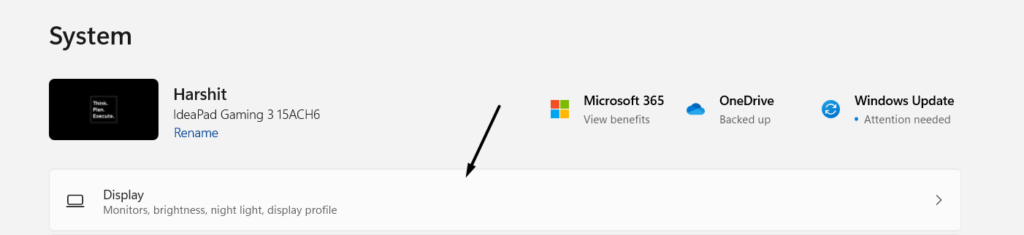
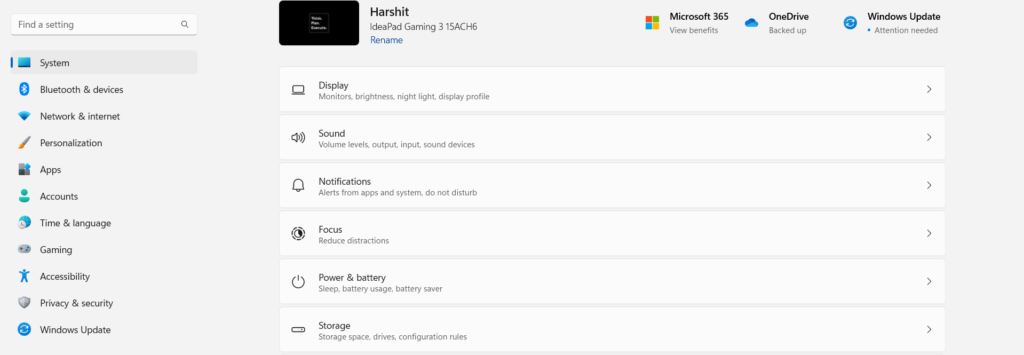
- To start, open the Settings app on the PC and navigate to the Display section to access all display-related settings.
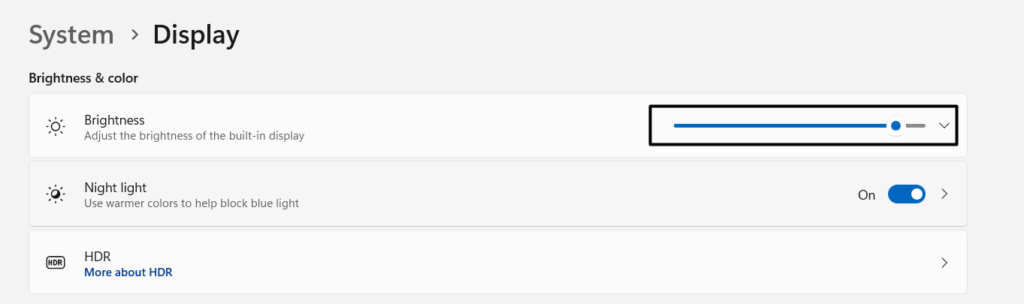
- Lastly, use the slider next to the Brightness option to adjust the brightness as per the comfort of the eyes.
3. With Dedicated Keys
Another easy method to increase or decrease the brightness level is using keyboard shortcuts designed for the same purpose. You can press the F5 and Fn keys on the keyboard at the same time to turn up the brightness. On the other hand, use the F6 and Fn keys simultaneously to decrease the screen’s brightness level.
4. Using Command Prompt
The last method to level up or down the brightness level in Windows 11 is using the Command Prompt or Windows PowerShell app, and the below-mentioned steps demonstrate the same:
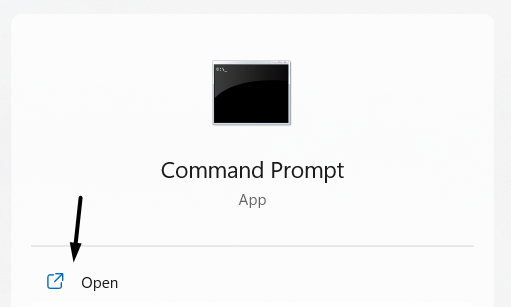
- Firstly, open the Command Prompt or Windows PowerShell app.
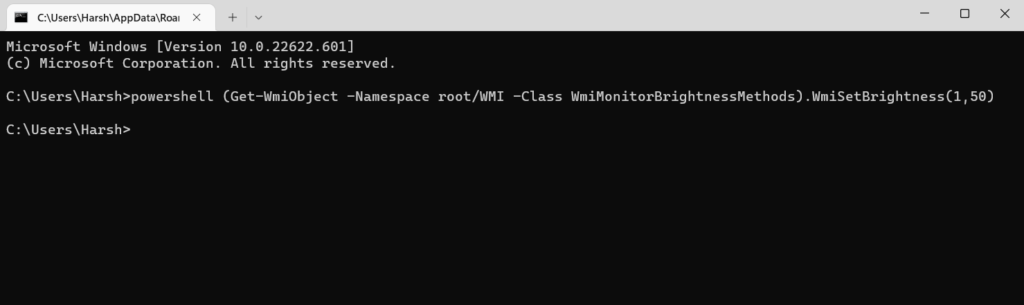
- Once the Command Prompt or PowerShell app is opened, copy-paste the following command in the console and press Enter. Note: Replace “100” with whatever brightness percentage you want to keep.
Fix Brightness Not Working In Windows 11
In this section, we’ve shared more than eight tried and tested solutions to overcome all the shortcomings of the Brightness Controller feature in the new Windows 11.
1. Uninstall the TeamViewer Software From Your System; if Installed
Many affected users suggested uninstalling the TeamViewer application and mentioned that the TeamViewer app changes the system’s display settings, which can cause this issue. So, If you’re also using the TeamViewer app on your Windows PC, we suggest uninstalling it from the system to resolve the issue.
2. Disable Automatic Brightness Option From Settings
Auto-Brightness is an excellent feature that automatically changes the screen’s brightness level when the lighting changes. But, this can also create annoying issues as this doesn’t allow us to manually change the brightness using the brightness slider or any other feature. In that case, we suggest turning off the Auto-Brightness option. Here are the steps to do the same:
- To start, open the Settings app on the system using the Windows + I shortcut key.
- Navigate to the Display section in the Settings app and access and customize the system’s display settings.
- Click on the arrow next to the Brightness option to expand the Brightness section and view all the additional options.
- Lastly, uncheck the ‘Help improve battery by optimizing the content shown and brightness’ checkbox to prevent the system from enabling the Auto-Brightness option automatically to enhance the battery life.
- Once this feature is disabled, restart the computer and check whether the Brightness Controlling function is working correctly.
3. Restart the Display Enhancement Service
Display Enhancement Service is an essential Windows service that plays an important role in the proper functioning of the Brightness Controller feature. It could be possible that this particular service isn’t operating correctly, which is why you cannot change the brightness using any method. We recommend restarting the Display Enhancement Service from the Services Manager to ensure it’s functioning correctly and have no internal issues. Below are the steps to restart the Display Enhancement Service:
- So first, press the Windows + S shortcut key to open the Windows Search Bar and type Services in it.
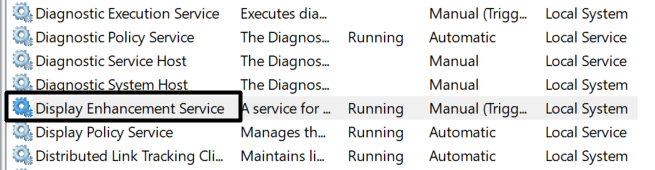
- Now, select the Services app from the results and search for the Display Enhancement Service in the list of services.
- Double-click on the Display Enhancement Service to open the Properties section.
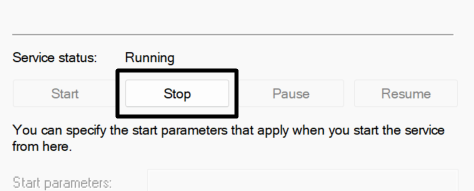
- By default, the Display Enhancement Service will be Running. You have to stop the service by clicking on the Stop option.
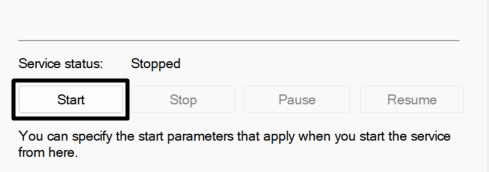
- Once the service is stopped, click on the Start option to restart the Display Enhancement Service on the system.
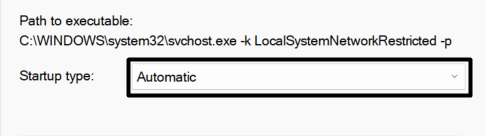
- Following that, select the Startup type to Automatic, so the service automatically starts when the computer boots and the same issue never appears again.
- Lastly, click on Apply and then OK to save all the changes and adjust the brightness seamlessly without any issue.
4. Re-enable, Update, & Reinstall Generic Monitor Drivers
Monitor Drivers are an integral part of Windows that manages multiple settings, such as refresh rate, screen resolution, screen brightness, color quality settings, and much more. It’s possible that the monitor drivers have some issues, eventually causing this issue. In that case, troubleshooting the monitor drivers can easily resolve the problem. We suggest starting the troubleshooting process by re-enabling the monitor drivers. Then, continue the process by updating the drivers. Lastly, we suggest reinstalling the monitor drivers to end the troubleshooting process. Here are the steps to perform the entire troubleshooting process with ease:
Re-enable the Generic Monitor Drivers
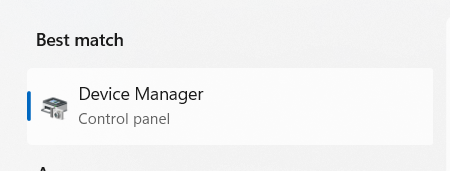
- Open the Windows Search Bar, type Device Manager, and select Device Manager from the Best match section.
- Search for Monitors in the Device Manager. Once found, double-click on it to expand the section and get the list of all integrated monitor drivers.
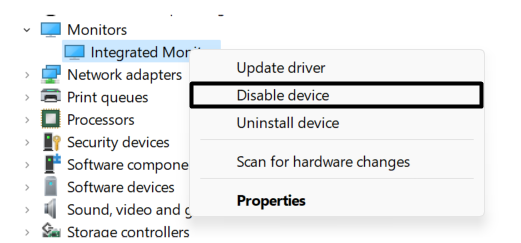
- In the Monitors section, select the integrated monitor driver, right-click on the driver, and lastly, select the Disable device option from the menu.
- Once the driver is disabled, right-click on the same driver again and select Enable device to re-enable the integrated monitor driver.
Update the Generic Monitor Drivers
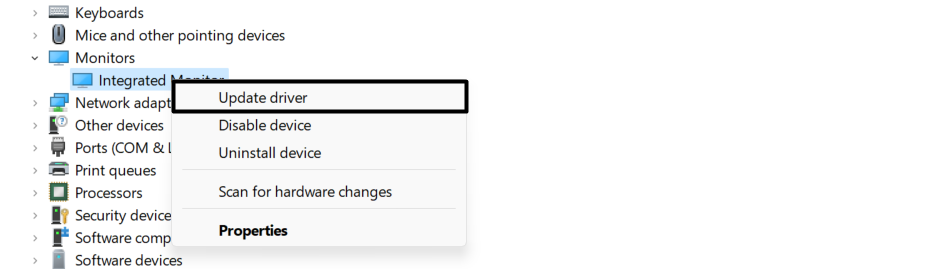
- To update the monitor drivers, right-click on the integrated monitor driver in the Monitors section and click on the Update driver option.
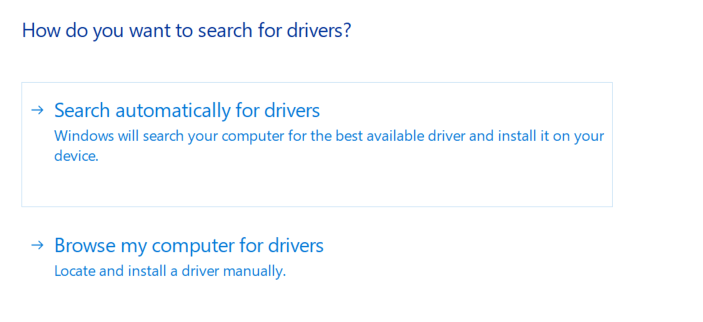
- Select the Search automatically for drivers option to scan for new updates automatically for the integrated monitor driver.
- Once the scanning process is completed, you’ll see all the new updates on the screen. You need to now follow the on-screen instructions to install them.
Reinstall the Generic PnP Monitor Drivers
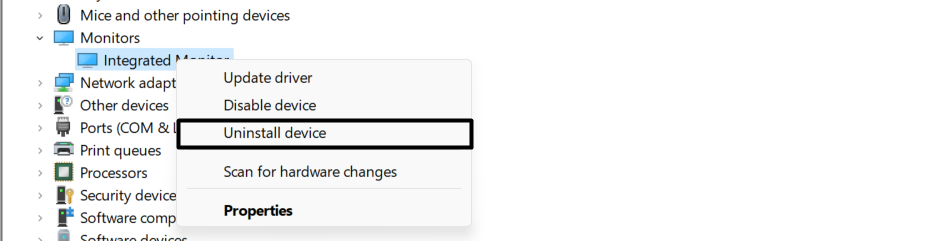
- To reinstall the monitor driver, click on the Uninstall device option from the menu that appears after right-clicking on the monitor device.
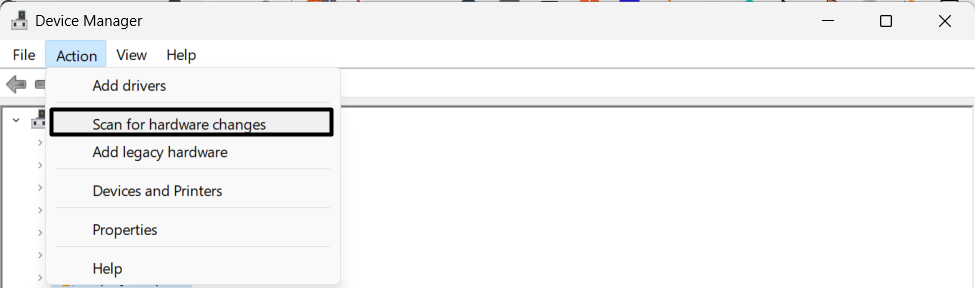
- Once the monitor driver is uninstalled from the system, select the driver again, click on Actions in the top menu, and select Scan for hardware changes to reinstall the integrated monitor driver. You should now be able to use the Brightness Controller/Slider without such issues.
5. Upgrade Display Adapter Drivers
Keeping the display adapter drivers updated is necessary to maintain the system’s integrity and other display-related functions working. There are chances that the display drivers are outdated and leading to this issue. Follow us along to update the display adapters in a few simple steps:
- Open the Device Manager and search for Display adapters.
- Double-click on the Display adapters to view all the display drivers installed on the computer.
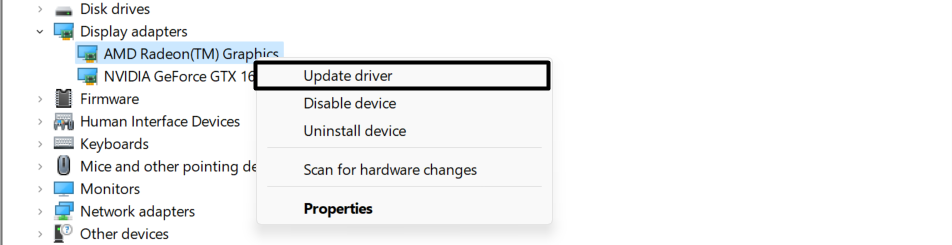
- Following that, select the display driver from the list and right-click on it to view additional options on the screen.
- After that, click on the Update driver and then select Search automatically for drivers to automatically scan for new updates.
- Lastly, follow the on-screen instructions to install the updates on the system.
6. Install Microsoft Basic Display Adapter
If updating the display or graphic adapters doesn’t improve the situation, we recommend replacing the integrated display adapter with the Microsoft Basic Adapter. The Microsoft Basic Adapter helps when the integrated drivers have some problems. You can check the below-mentioned steps to install Microsoft Basic Adapters:
- Press the Windows key to open the Search Bar, type Device Manager, and open the Device Manager app.
- Search for Display adapters in the Device Manager to see all display drivers installed on the system.
- Right-click the graphic drivers and select Update driver from the given options.
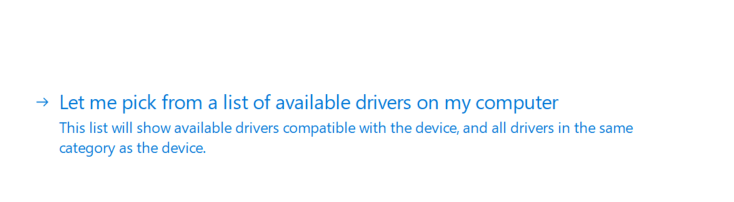
- On the next screen, select Browse my computer for drivers, and then select Let me pick from a list of available drivers on my list to view all the drivers already saved on the system storage.
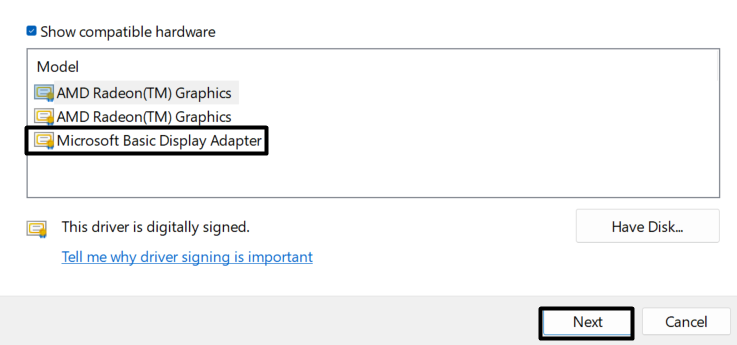
- On the next screen, select Microsoft Basic Display Adapter and click Next to continue the driver installation process. Once the driver replacement process is started, you’ll see a running progress bar on the screen. During the process, your screen will flicker or become dark for a few seconds, but there’s nothing to worry about as it’s a part of the process. Once the Microsoft Basic Display Adapter is installed, your system will return to its normal state.
7. Perform SFC and CheckDisk Scans To Repair Damaged Files
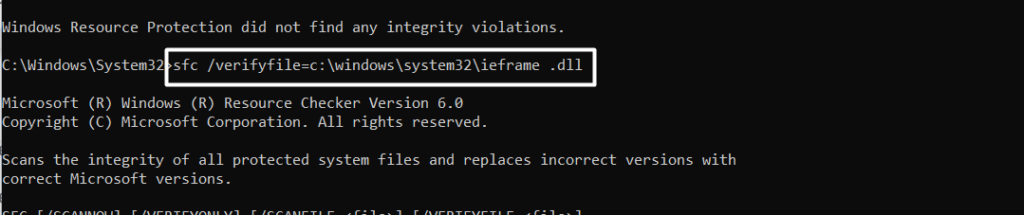
One of the common reasons behind the brightness not working issue is the corrupted ieframe.dll element. The ieframe.dll element is responsible for the correct functioning of many essential Windows, including the screen brightness function. Sometimes, third-party software damages the ieframe.dll file, making it incapable of properly handling assigned system functions. You can repair the ieframe.dll file conducting the SFC and CheckDisk scan. Here are the steps to conduct both scans with ease:
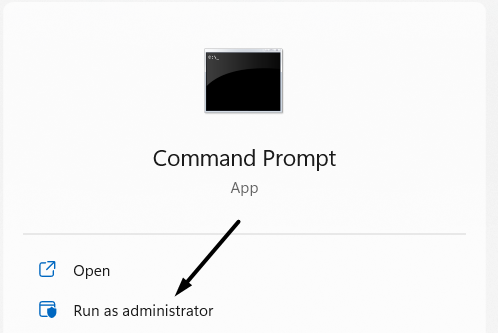
- To start, open the Command Prompt app as an administrator using the Windows Search Bar.
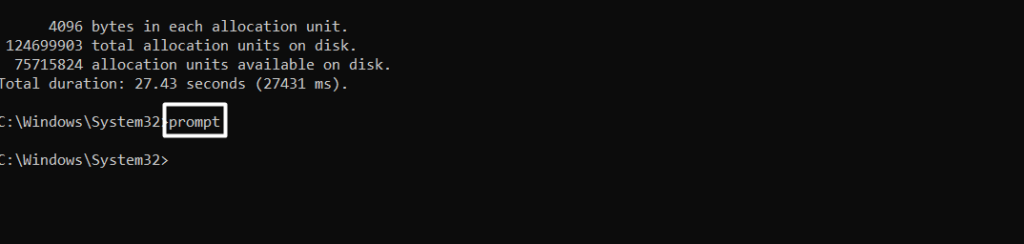
- Then, type the following command in the console:
- After that, execute the mentioned command in the console:
- Once the commands mentioned above are implemented, copy-paste the below-mentioned commands one by one:
- Now, execute the assoc command in the console.
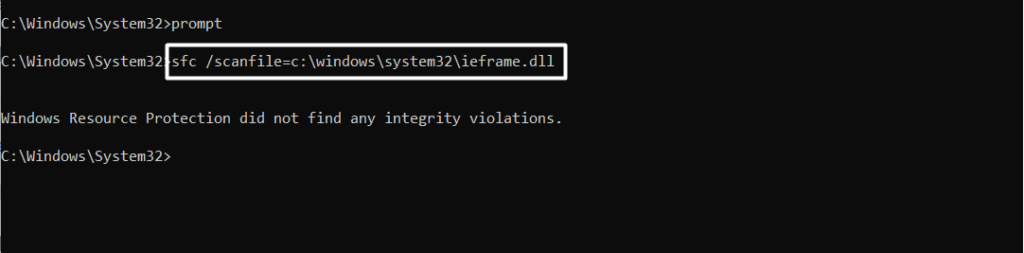
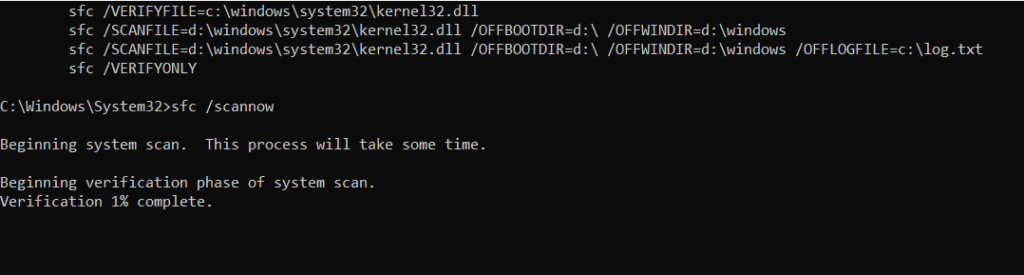
- Following that, execute the below-mentioned command and press Enter to conduct the SFC scan: Once the scanning and repairing process is completed, try using the Brightness Controller function again and see if it’s working again.
8. Modify Brightness Settings Through Windows Registry
Windows Registry is an integral part of Windows OS that stores all the information about the programs and processes of the system in one place. You can also modify the display settings from the Windows Registry and make the Brightness Controller function work again. Follow the below-mentioned steps to change Windows Registry settings:
- Press the Windows + R shortcut key to open the Run program and type regedit to open the Registry Editor.
- Once the Registry Editor is opened, navigate to the below-mentioned location:
- Search for the NoDispCPL value and double-click on it. 4. Enter 0 in the Value data column and click OK to save all the changes.
- Lastly, close the Registry Editor and restart the system to see the issue’s status.
9. Update Your Windows PC
There are chances that the issue is with the current version of Windows, and developers have released new updates to resolve it. In that case, we suggest searching for new system updates and installing them to see if updating them fixes the problem. Here are the steps to update your Windows 11 PC:
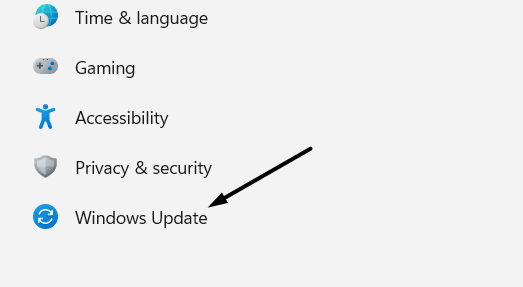
- Firstly, open the Settings app on the PC and move to the Windows Update section from the left sidebar.
- Next, click on Check for updates and let the system scan for new updates available to install on the system.
- If there are any pending updates to install, you’ll see a Download & install all option with the list of all pending updates. So, click on the Download & install all to install them to the system.
- In the end, restart the Windows system and see if the Brightness Controller feature is functioning again.
10. Reset the System (if Nothing Works Out)
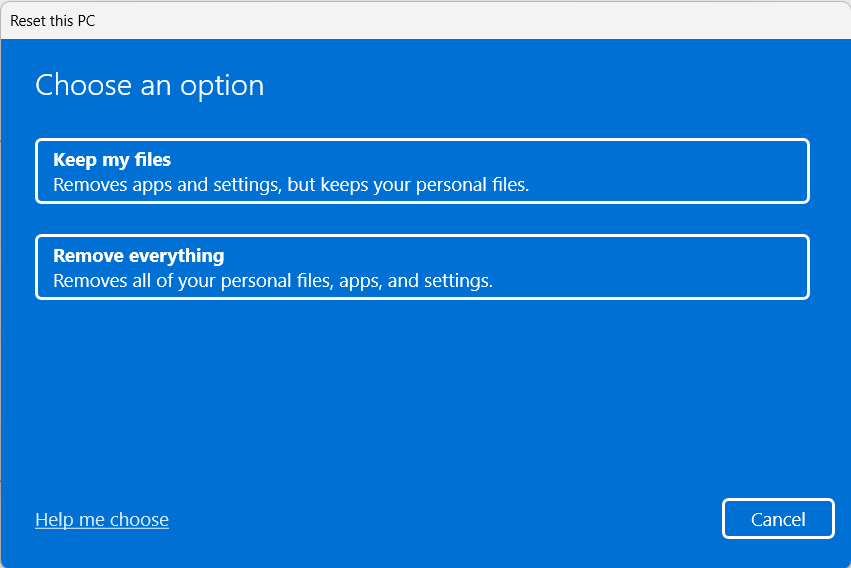
If updating the system doesn’t resolve the issue, you can either wait for the new update with some fixes or simply reset the PC to immediately resolve the PC. If you decide to reset the system, follow the below-mentioned steps to know the exact process:
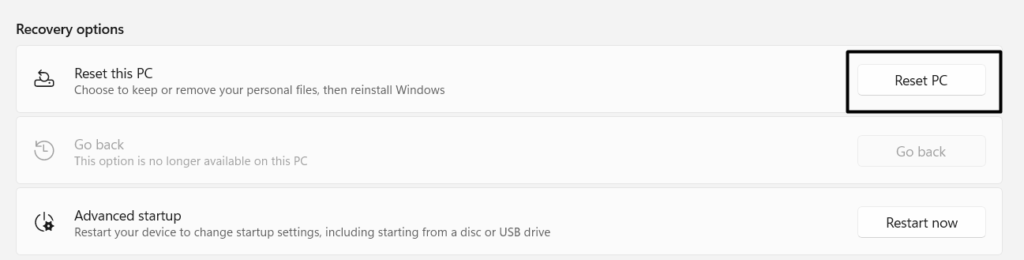
- Open the Settings app on the PC and navigate to the Recovery section.
- Click on the Reset PC option under the Recovery options section.
- Select the Keep my files option as we don’t want to delete the stored data on the Windows system. Hopefully, the issue should is resolved now.
How Can I Adjust Brightness in Windows 11?
One of the easiest methods to adjust the screen’s brightness level in Windows 11 is through Windows’s Quick Action Centre.
How Do I Fix Brightness Control Not Working?
You must ensure that the Auto-Brightness and the Battery saver are disabled, as they can also create this issue.
Why Is My Brightness Level Not Working?
If you’re unable to change the screen’s brightness, it could be because of the corrupted ieframe.dll element.
Does Windows 11 Have Auto-Brightness?
Yes, the latest Windows 11 has the Auto-Brightness option and it can be enabled/disabled from Windows’s Display Settings.
How Do I Turn On the Fn Key for Brightness?
You can use the F5/F6 and the Function (Fn) key at the same time to turn up or down the laptop’s screen brightness, respectively.
Final Words
Changing screen brightness in Windows has become a complicated task. This is because the brightness slider function isn’t working correctly for many users and not allowing them to change the brightness level of their systems. Users are continuously searching for some workarounds to overcome the brightness not working issue in their Windows 11 system. Fortunately, in this article, we shared some of the best solutions to eliminate the problem. You can implement the above-mentioned solutions to get out of this situation asap.
![]()
![]()