It makes the screen aesthetically pleasing and adds more screen real estate. But you can’t enjoy any of these advantages if the auto-hide Taskbar is not working in your Windows 11 PC. The taskbar should disappear after use, but on some computers, it fails. If you are experiencing similar issues we will provide working tips to resolve the issue.
Fix Auto Hide Taskbar Not Working in Windows 11
There are several workarounds available for resolving the auto hide taskbar not working issues in Windows 11. We have listed the working ones below.
1. Restart the Computer
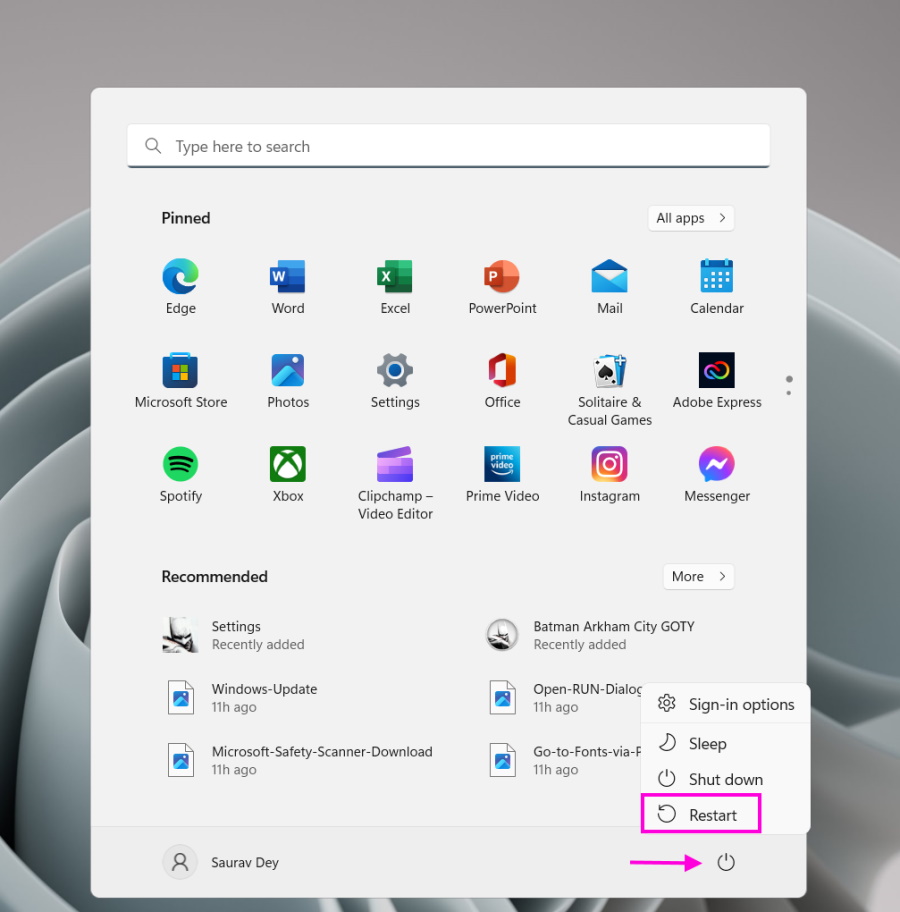
Restarting the computer may not be the most sophisticated fix, but an effective one nonetheless. So, restart your computer before jumping into the most typical troubleshooting methods. Who knows, maybe the auto-hiding issue will get fixed.
2. Check If Taskbar Is Enabled
In order to hide the taskbar on Windows 11, you need to enable the feature from the Taskbar Settings manually. If you haven’t, do not expect the auto-hide feature to work. So, before trying out anything else, check if the feature is enabled on your computer:
- Right-click the Taskbar and select Taskbar Settings from the menu.
- Check the box beside Automatically Hide the taskbar option to enable it.
3. Restart Windows Explorer
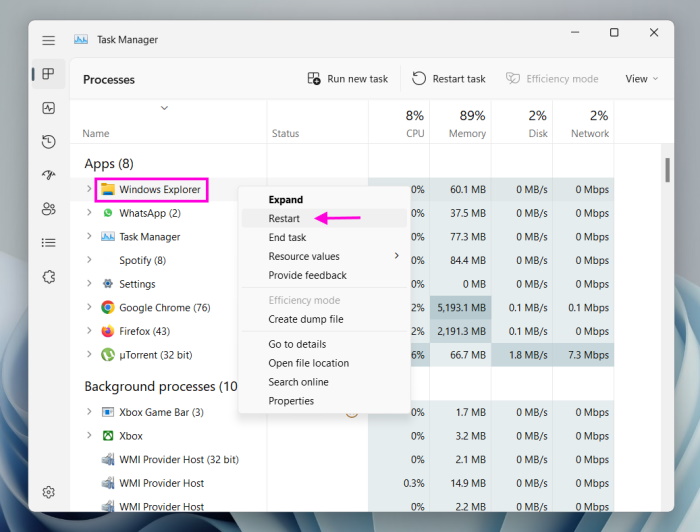
Windows Explorer is a crucial process that handles GUI or Graphical User Interface and other vital utilities, including the Taskbar. If Windows Explorer has a problem, it could lead to the taskbar auto-hide failing or other malfunctions. In such a case, the problem could get resolved by restarting the Windows Explorer process. It will fix bugs/glitches and get the taskbar function running again. 1. Right-click on the Taskbar and select Task Manager. 2. Select Windows Explorer under the Processes tab. 3. Right-click and select Restart. The taskbar will disappear momentarily and reappear. After that, enable the auto-hide option, or the taskbar will hide if it is already enabled.
4. Active Apps and Programs on the Taskbar
Most users pin a lot of applications or programs on the taskbar. It is convenient and looks good. But it can also stop the taskbar from hiding by itself. If an active app or program on the taskbar needs your attention, the taskbar may not hide. The app or program in question will glow. In that case, you must click the blinking or glowing icon to take care of the alert or the notification. After that, the taskbar should hide automatically. You should also check the system tray for hidden icons. There may be a program running in the background that requires your attention.
5. Adjust Notification Settings
If a specific application on your computer is causing the problem but sending notifications continuously, you must modify its notification settings to fix the issue. All you have to do is navigate to the app’s settings. You need to check if the app can disable unwanted notifications. If such an option is absent, you may have to disable notifications for that app altogether to fix this issue.
6. Run SFC and DISM Scans
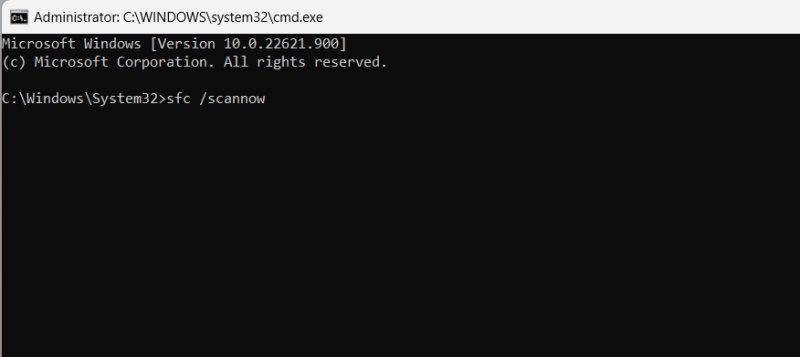
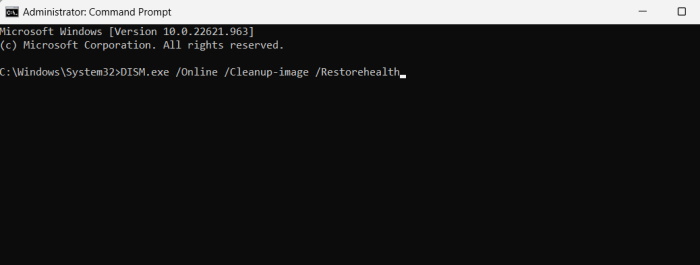
If the taskbar’s auto-hide feature failure is caused due to missing or corrupted system files, it won’t get fixed automatically. You must run System File Checker or the SFC scan to resolve the problem. SFC is a built-in utility that locates and repairs damaged files. It is very effective, and here’s how to use it. 1. Open the Start menu, and type Command Prompt. 3. Right-click it and select Run as administrator. Choose Yes when prompted. 4. In the command prompt window, type the following command and hit Enter. SFC will start scanning your computer. It will check the system files and replace them with the cached version if necessary. After the SFC scan, you need to run DISM or Deployment Image Servicing and Management scan. Use the following command after launching the Command Prompt with Administrator rights. The DISM command will try to detect and repair issues with the system image. The scan also takes a few minutes. Restart your computer after the DISM scan, and check if the auto-hide taskbar is working.
7. Windows Updates
Microsoft usually adds all sorts of bug fixes, patches, and improvements with regular updates to the operating system. If you have missed a few Windows updates or the taskbar is not hiding due to some issues in your current Windows 11 build, upgrading Windows 11 to a newer build will likely fix it.
- Navigate to the Windows Update in the Settings app.
- Click on the Check for Updates option. Download and install any updates Windows locates, and check if that resolved the problem
8. Re-Register Taskbar with Windows PowerShell
There is a process for re-registering the taskbar to restore it to its original glory. It is somewhat complicated and requires the use of Windows PowerShell. So, follow the steps below carefully.
- Open the Start menu, and type Windows PowerShell in the search box.
- Click Run as Administrator on the right side.
- Click Yes when the “User Account Control” prompt appears.
- Type or paste the following command in the PowerShell window. Hit Enter afterward.
- After executing the command, exit PowerShell.
- Open File Explorer and paste the following address in the address bar.
- Locate the TileDataLayer folder and delete it.
9. System Restore
If nothing works and the taskbar issue is relatively recent, you can perform a system restore to fix the taskbar auto-hide issue on Windows 11. System restore is a convenient feature on Windows. It allows the users to revert Windows to an older self before specific changes are made. You will use this method to restore Windows to a state when the taskbar was working correctly. However, you can only do this if you have enabled System Restore when setting up Windows.
- Press the Win + S keys on the keyboard to launch the search menu.
- Type Create a restore point in the search box. Choose the top result.
- Select System Restore under the System Protection tab.
- After that, click Next.
- You must choose a system restore point before the taskbar issue happens and click Next.
- You will get a chance to review the details. After that, click Finish. After executing the steps, your computer will restart and restore to the set point. We hope this fixed your taskbar problem on your computer.
Start Hiding Taskbar on Windows 11
The Taskbar is an essential Windows utility. You can access the Start menu with it, launch apps, and more. Now, you may hide it to enjoy a cleaner desktop, which is excellent. But if it malfunctions, the fixes mentioned above will help to resolve the problem by fixing the underlying issues.